

Glowforge Aura: The Ideal Laser Cutter for your creativity
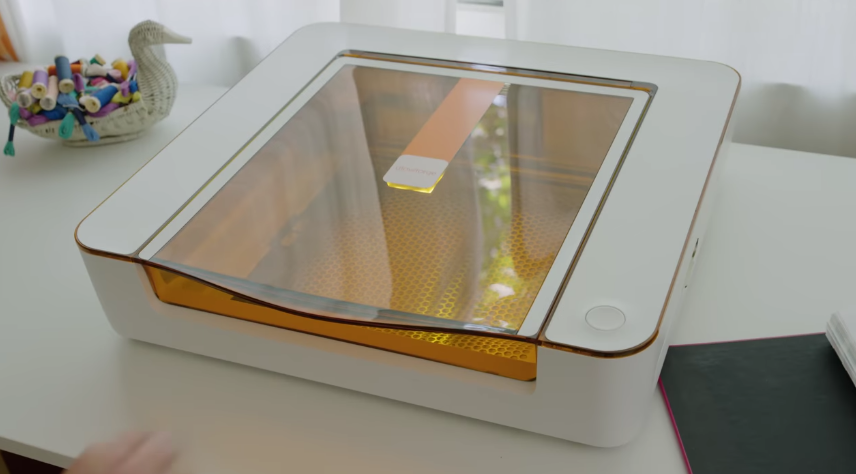
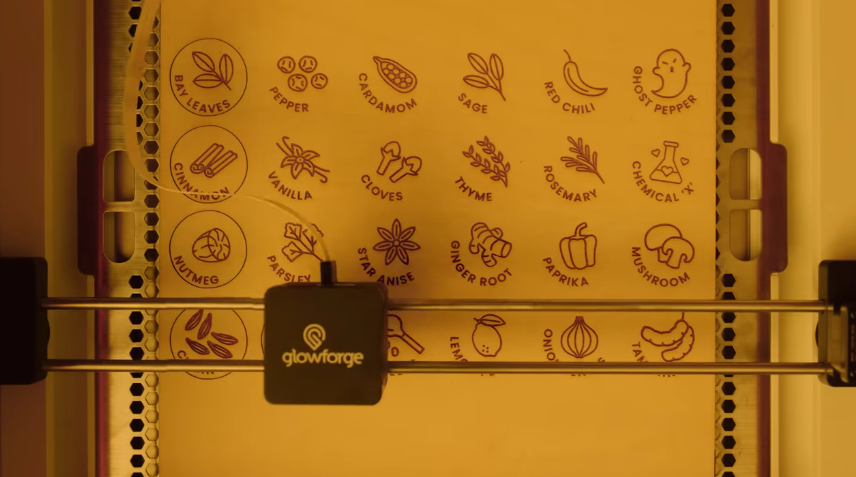
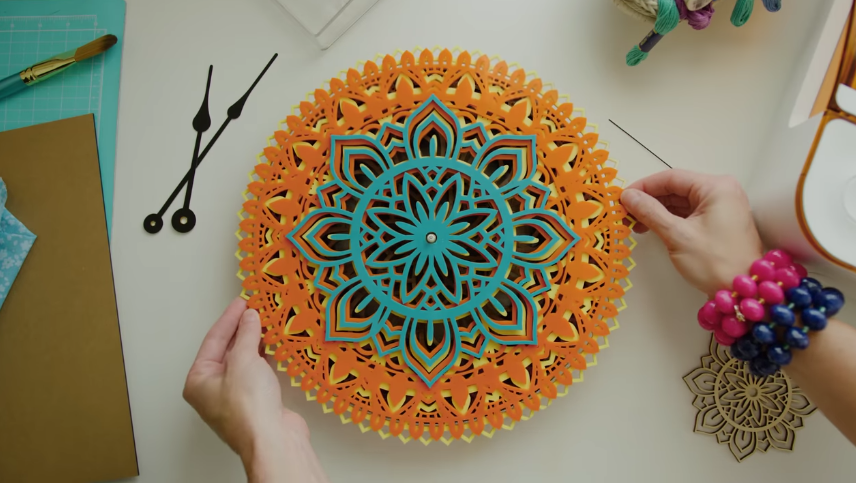
A readily available and easy-to-use laser cutter that is perfect for novices and enthusiasts is the Glowforge Aura. It has many features that make it easy to use, and it is small and tidy to set up. A wide variety of materials, including cardstock, acrylic, wood, and leather-based materials, can be cut and engraved with the Aura. It works particularly well with Proofgrade materials, which may already be user-friendly and Glowforge-optimized. If you’re new to laser cutting or just want a small, user-friendly device, the Glowforge Aura is a great choice. It’s a fantastic method for making crafts, home decor, and personalized gifts.
Specifications for Glowforge Aura
| Specifications | Details |
| Product Name | Glowforge Aura |
| Product Type | Laser Cutter |
| Cutting Area | 19 x 11 inches |
| Laser Power | 40 watts |
| Cutting Speed | Up to 20 inches per second |
| Engraving Resolution | 1000 dpi |
| Compatible Materials | Wood, acrylic, leather, cardboard, chocolate |
| Connectivity | Wi-Fi, Ethernet |
| Software | Glowforge software (Windows, Mac, Linux) |
| Dimensions | 24 x 19 x 10 inches (61 x 48 x 25 cm) |
| Price | Starting at $3,995 |
Versatile:
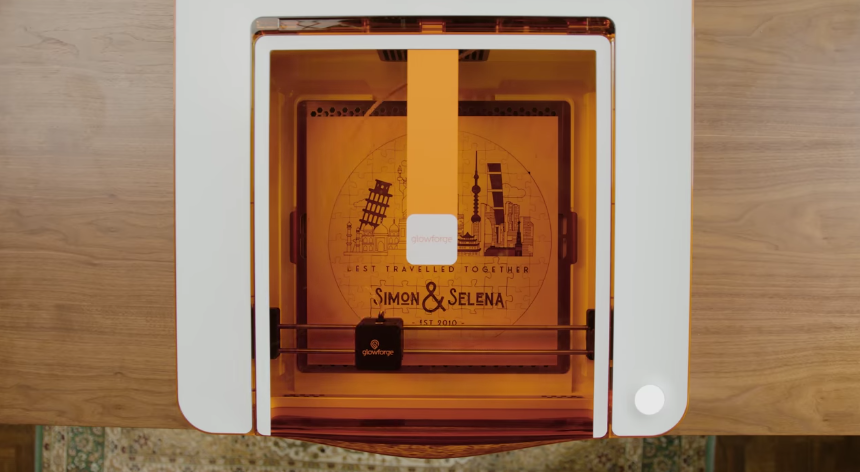
This laser cutter is incredibly versatile even though it is smaller in size. Many materials, such as wood, acrylic, leather, cardstock, and laser-friendly iron-on vinyl, can be scored, engraved, and cut with it. Its bed can hold twelve by twelve sheets, and it can handle materials up to ¼ inch thick.
Simple to use:
The new Glowforge can be controlled with an online app that runs on most operating systems and connects to the device via WiFi.This is an optional accessory, but without it, the only way to safely release the fumes from the laser cutter is to vent it out of a window.
Minimal Setup:
Very little setup is needed for this machine. It only required me to unpack it and realign a few parts, and it never had any issues establishing a Bluetooth connection with my laptop.
Outstanding Performance:
The Glowforger’s laser is very strong. The 40-watt laser produces engravings and cuts that are exact and accurate. The printer also has high engraving resolution. Detailed details and crisp results are guaranteed with an engraving resolution of 1000 dpi. The printer also has exceptionally fast Cutting Speed: Project completion can be completed efficiently with a cutting speed of up to 20 inches per second.
Excellent customer forum:
Access to the Glowforge community is one of the main benefits of owning a Glowforge of any kind. With years of forum involvement and a newly established Discord server, Glowforge users are very engaged and ready to assist with almost anything.
How to set up?
- When you open the box that once held your printer, your cutting tray will be inside a cardboard sleeve. You’ll need this sleeve soon, so take it out of the box and set it aside!
- Once the lid is opened, additional boxes containing the power cable, vent hose, and laser head are visible.
- The cardboard package nearest the front of the printer bed should be opened. The power cord and exhaust hose should be removed and placed aside. The cardboard piece at the bottom can also be removed.
- The laser head setup comes next. It is firmly packed inside the black foam cube located in the upper left section of the printer bed. Be cautious not to disconnect the laser ribbon cable that connects the laser head to your printer.
- Lift the entire foam block out of the cardboard holder by carefully removing the foam cover from the laser head.
- Remove the laser head from the foam block with caution. Be cautious not to twist or pull on the laser ribbon cable.
- Remove the remaining cardboard insert from the printer bed while holding the laser head in one hand.
- The laser head will then be positioned on the magnetic dock. It is the two silver laser rails with the black square fixed on them. Place the laser head on the dock such that the Glowforge logo reads from left to right and the laser ribbon cable is at the back. You will experience a magnetic snapping into position.
- Some foam fragments might be tucked under the left and right side rails. Pull them out gently, then pull them up, and store them with the rest of your packaging.
- Aligning the rails is the next step after attaching the laser head. Although it’s highly likely that your laser arm is already positioned perfectly, these steps will address any skew that may exist.
- Grasp the laser arm’s black end caps with both hands. Draw the laser arm all the way to the front, very gently. To ensure that both end caps are flush with the front, slightly press.
- Pinch the laser arm all the way to the back while clinging to the end caps. To ensure that both end caps are flush with the back, exert some pressure once more.
- Do you still have the cardboard sleeve you took off earlier? Slide the sleeve open, then take out the cutting tray.
- Place the chopping board inside your Aura. The left and right handles of your printer will fit into the corresponding notches on either side. It should fit you snugly.
Pros & Cons of Glowforge Aura
| Pros | Cons |
| Even for novice users, the Glowforge Aura is remarkably simple to operate. There are many resources available to assist you in getting started, and the software is easy to use and intuitive. | Because of its comparatively small cutting area, the Glowforge Aura is not recommended for large projects. |
| It’s simple to move the Glowforge Aura around your house or place of business because it’s small and lightweight. It barely fills a small microwave oven’s space. | Thick materials may take longer for the Glowforge Aura to cut through because of its lower power compared to some other laser cutters. |
| A vast range of materials, including wood, acrylic, leather, cardstock, and even chocolate, can be cut and engraved with the Glowforge Aura. | If you’re serious about laser cutting, the Glowforge Aura is well worth the price. |
| Proofgrade materials are simple to use and produce excellent results because they have been pre-optimized for the Glowforge Aura. | |
| Many features are included with the Glowforge Aura, such as an air assist system, a passthrough slot, an excellent laser, easy-to-use software, and a library of pre-made designs. |
Verdict for Glowforge Aura
With the Aura, Glowforge opens up laser cutting and etching to the general public of home crafters. Cutting and engraving a wide variety of materials is simple, even though some acrylics are incompatible with Glowforge’s subscription-only patterns and tools. You can even use your own files. Because of its reasonable price and large crafting capabilities, it is our Editors’ Choice for craft lasers. For those who prefer to work primarily with vinyl or stick to cardstock, leather, and paper, the Cricut Maker 3 is a more affordable option, costing less than half as much as the Aura.
FAQs
What type of material is cuttable with Glowforge Aura?
Wood, cloth, leather, paper, Plexiglas (acrylic), Delrin (acetal), mylar, rubber, Corian, foods, and more can all be cut with a glowforge. In addition to the items listed above, Glowforge can engrave glass, coated metal, marble, titanium, anodized aluminum, and a few types of phones, tablets, and laptops.
Could the aura of Glowforge be engraved?
Presenting the first Craft Laser ever made. Accurately cut, score, and engrave hundreds of materials up to ¼” thick, including leather, acrylic, and wood.
Can mirror acrylic be cut with Glowforge Aura?
Not all acrylic colors can be cut by the diode laser found in the Glowforge Aura and xTool laser cutters.
What program does Glowforge employ?
JPG, PNG, SVG, PDF, and other file formats can be opened and edited with Glowforge. A wide range of software platforms, including Adobe Illustrator, Inkscape, CorelDraw, Adobe Photoshop, GIMP, Autodesk 360, and Sketchup, can be used to create files that are compatible with Glowforge.
Does a filter go with Glowforge Aura?
You can create from any room of your choosing by connecting your Glowforge Aura to the Glowforge® Personal Filter.


