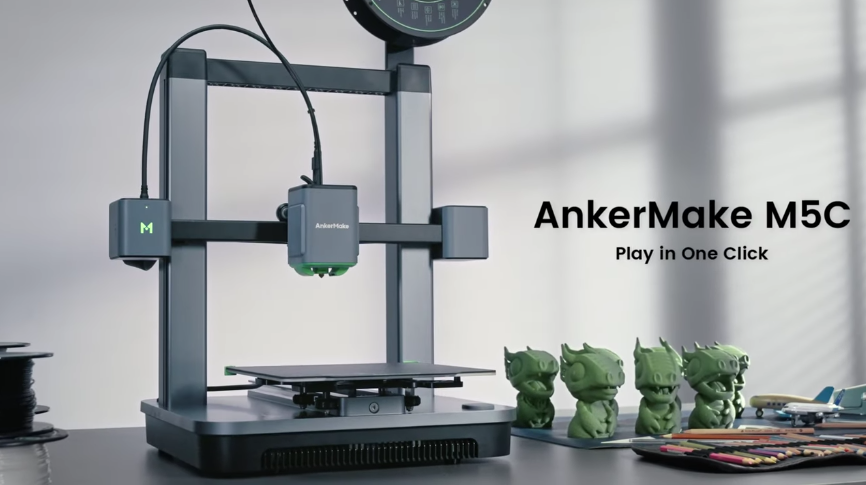
AnkerMake M5C 3D Printer: The modern-age printer that you need
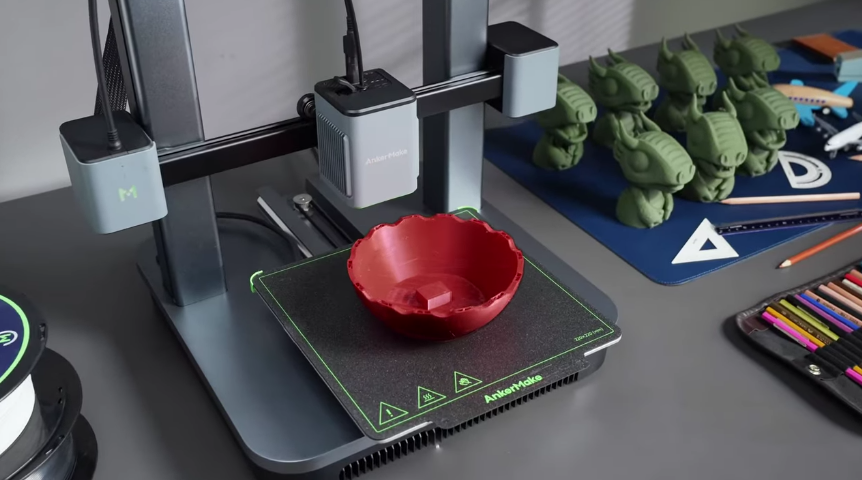
AnkerMake M5C is a user-friendly 3D printer that can be used both for personal and business purposes. Moreover, the M5C is equipped with AnkerMake’s PowerBoost 2.0 technology, which offers improved motion control and fast printing at up to 500 mm/s and 5000 mm/s2 acceleration. The base made of aluminum alloy stabilizes the machine and lowers the jitter, enabling 0.1 mm printing accuracy even at high speeds.
Specifications for AnkerMake M5C 3D Printer
| Specifications | Detail |
| Size | 466×374×480 mm³ (Without filament holder) |
| Weight | 11 kg/24.2lbs |
| Print speed | 500 mm/s |
| Hotend | All metal |
| Hotend temp | Maximum- 300°C/572°F |
| Connectivity | Wifi, Bluetooth, USB |
| Storage | 8 GB, USB Drive |
| Power consumption | 350W, 110V/220V |
| Plate | Magnetic, PEI coated |
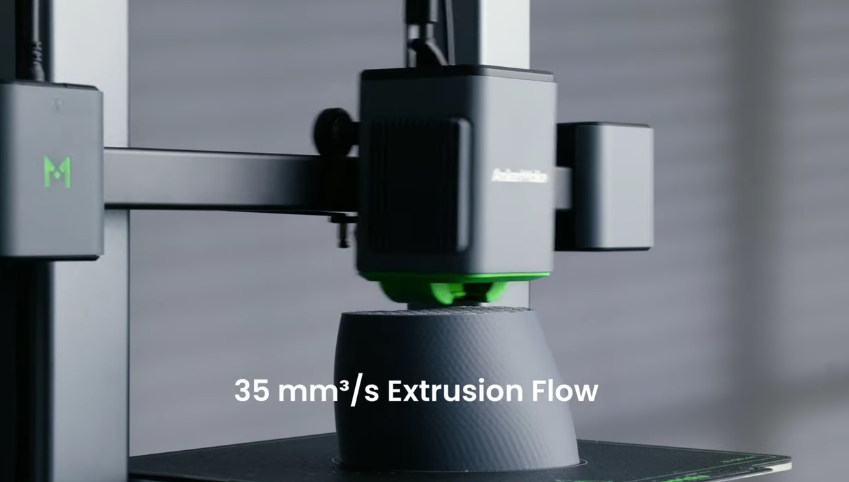
Fast printing
Moreover, the M5C is equipped with AnkerMake’s PowerBoost 2.0 technology, which offers improved motion control and fast printing at up to 500 mm/s and 5000 mm/s2 acceleration. The base made of aluminum alloy stabilizes the machine and lowers the jitter, enabling 0.1 mm printing accuracy even at high speeds.
Excellent Print Quality
The AnkerMake M5C prioritizes ease of use and offers outstanding print quality along with fast printing speed, making it easily accessible to users of all skill levels.
Easy to assemble
The M5C has a one-piece design that makes installation simple and quick, as well as an automated 49-point bed-leveling calibration process that expedites printer startup. The PEI magnetic plate offers a stable and flexible print surface that makes it simple to remove 3D-printed materials and offers good adhesion.
Easy user interface
Users can tailor single-click, double-click, and long-press actions for a customized printing experience with the AnkerMake app. The simplest possible user interface device has taken the place of the touchscreen: a button, which is a play/pause button.
Easy to manage
You can now manage every process with an app rather than having to navigate through endless menus on a touchscreen, which is always angled incorrectly, regardless of what you want to do. All aspects of a job, including printing, reprinting, leveling, homing, pausing, and stopping the printer, can be easily finished with a single tap.
Pros & Cons of AnkerMake M5C 3D Printer
| Pros | Cons |
| Print models at up to 500 mm/s, quickly and effectively. | It may not work with all specialty filaments even though it supports a wide range of filaments. |
| Make models that are more elaborate and larger. | While not included with the printer, an enclosure can help control temperature and enhance print quality for specific materials. |
| Utilizing a computer, tablet, or smartphone, you can remotely manage your printer. | Certain features, such as power loss recovery and filament runout detection, might need extra configuration. |
| Simple to use and appropriate for both novice and expert users. | |
| Design that is lightweight and compact: You can store and move your printer with ease. | |
| Guarantees an exact and consistent print bed level for printing. |
How to set up AnkerMake M5C 3D Printer?
- To make sure you have received everything, carefully open the box, take out all of the printer parts, and set the protection foam on the ground.
- Kindly ensure that the voltage level you select satisfies the requirements of your locality.
Setting up the printer M5C:
- When configuring the printer, line up the locating pin holes on the printer base with the pins on the left and right Z-axis motors of the gantry, and then insert them.
- Take off the printer’s base cover and set it at the bottom of the gantry. Next, take out the eight M5 * 20 gantry screws and tighten them with the 4.0 hexagon wrench.
- Install the base cover after carefully plugging in the left and right Z-axis motor signal wires.
- Remove the foam from the heating bed and carefully plug in the wire at the bottom of the left shoulder, facing the printer.
- Tighten the four M4 * 6 screws to install the filament holder using the 2.5 hexagon wrench.
- Insert the PTFE tube through the Type-C cable’s back.
- Take out the PTFE tube claw from the filament holder and replace it with the PTFE tube inside the claw.
- After the printer beeps, plug in the power cord, check that the connection is secure, press the power button, and wait for the M5C printer to turn on fully.
- Proceed with the printer’s “auto-leveling”; for more information, see Auto-Leveling of the M5C.
Verdict for AnkerMake M5C 3D Printer
The Canon imageClass MF462dw and MF455dw are both excellent options for mono laser printers for medium-sized workgroups or offices that print a lot of duplex documents because of their faster duplex printing speeds in addition to their other features. For most offices, the Canon imageClass MF462dw will come in a close second because of its marginally higher operating costs and marginally slower speed when compared to the MF455dw.
FAQs
What is the AnkerMake M5C’s printing speed?
The AnkerMake M5C has a 500 mm/s print speed.
What kinds of filaments is the AnkerMake M5C compatible with?
AnkerMake M5C filaments can be used with a variety of filaments, such as ABS, PLA, PETG, and others.
Does auto-leveling come with the AnkerMake M5C?
The AnkerMake M5C does indeed have auto leveling.
What is the AnkerMake M5C’s build volume?
The build volume of the AnkerMake M5C is 220 x 220 x 250 mm.
Is it possible to operate the AnkerMake M5C using a tablet or smartphone?
Your tablet or smartphone can be used to operate the AnkerMake M5C.